All modern smartphones are equipped with a number of useful features that are designed to make life easier for users. When there is no time or desire to manually transcribe information from the screen onto a separate sheet of paper, or when you need to capture some images, you can simply take a screenshot or a video recording. Every Vivo device owner has the right to use these options. Made pictures and videos are stored in the usual gallery on the gadget, so you do not need to look for them. Creating a screenshot and screen recording on Vivo are uncomplicated processes available to all users. More about these features and possible problems with them we will talk in the article.
How to take a screenshot on your Vivo phone
A screenshot (screenshot) is a screenshot. A standard feature of any smartphone allows you to copy the contents of the screen to the clipboard and use it later at any time. The finished image retains exactly all the icons and symbols that the user saw on the display of his gadget at the time of the creation of the screenshot.
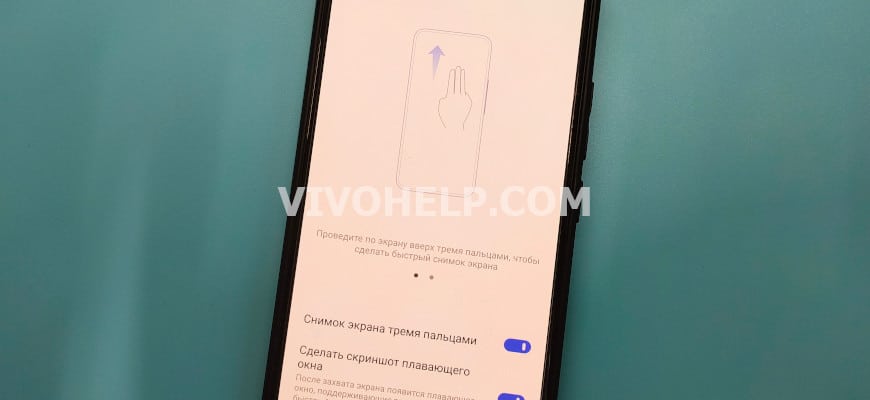
Advanced operating systems of modern phones allow you to take a screenshot on Vivo in different ways. The simplest option is available on models with Funtouch OS version 4.0 and higher. In this case, to create a screenshot, you only need to swipe the screen simultaneously three fingers from the bottom to the top.
The second method involves using the keys. So, to take a picture you will need to press two buttons simultaneously - Lock and volume down.
On some smartphones with Funtouch OS version 3.1 or lower, you must press the Home button and the Power button simultaneously.
How to make a screen recording on Vivo
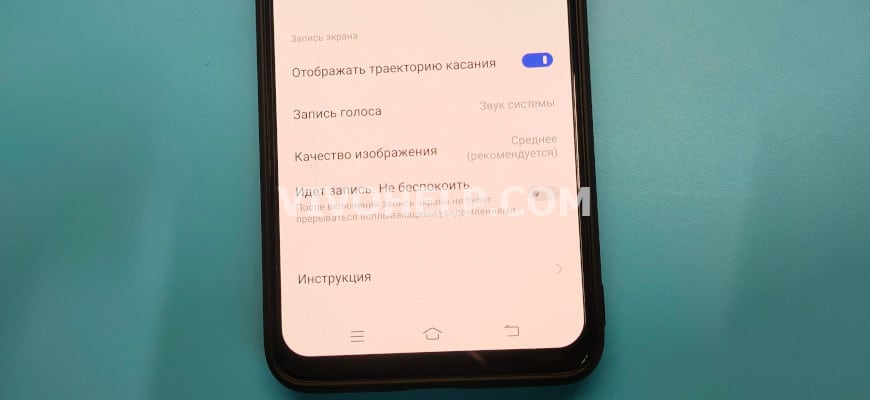
A screen recording (screencast) is a video recording of what is happening on your smartphone screen. It is usually used for training purposes. With this feature, it is much easier to explain how to work in different programs, solve technical problems, or even go through missions in games.
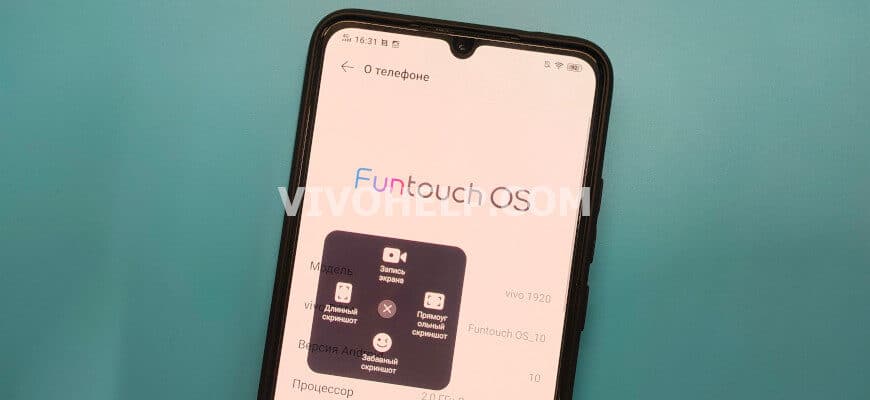
Speaking about how to do screen recording on Vivo, it is worth noting that the sequence of actions in this case is simple. There is only one way to activate this function:
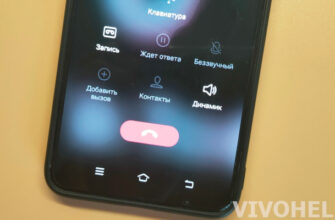
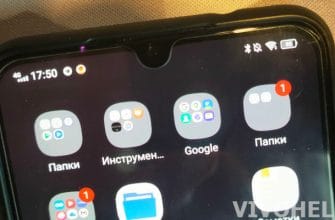
- Go to "Control Center" (swipe the screen from bottom to top).
- Open the "Superscreenshot" item.
- Select "Record Screen".
Immediately after you press the button with the same name, the recording process will start. You will be able to stop it by clicking on the corresponding iconwhich will pop up on the display.
You can enable Vivo screen recording in this way on any smartphone model. No third-party applications are required. In addition, with each new product the manufacturer improves the functionality. Therefore, in future gadgets may well be thought of faster ways to activate this option.
Solutions to popular problems

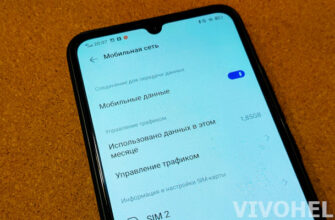
Users also note that it is possible to take a screenshot far away Not in all applications. In this case, you need to deal with the settings of the smartphone itself, as well as the necessary programs. In the first case, the screen capture protection function may be enabled - it must be disabled by going to: "Settings" - "Advanced settings" - "Security" - "Screen Capture Protection". As for individual applications, they may have the same feature installed by the developers. It can be disabled through the software settings.
Screen Capture protection is only available on smartphones with Funtouch OS version 4.0 and later.
Problems can also occur with recording video from the Vivo screen. The most common complaint people have is about blurred image when viewing the finished video. You can only encounter this situation when viewing the recording on a screen that is larger than your smartphone's display. Since the resolution of the recording is equal to the resolution of the phone screen, on a larger device the picture may well appear fuzzy.
Video tutorial
FAQ
Every user will be able to capture the necessary information without having to memorize it, manually record it or take a picture on a third-party gadget without any problems. Screenshot creation and screen recording functions are present on all smartphones as standard. They can be easily controlled through the device settings, enabling and disabling additional features.